First step is router selection. My shop router is a Sears Craftsman combo kit (fixed and plunge bases) and it is perfectly functional. But I did not want to have to swap out router bases whenever I wanted to swap projects. This means I need a dedicated router for this table. I spent a bunch of time researching and finially decided on a Bosch 2-1/4 HP Variable-Speed Router. With Amazon Prime, I got it delivered in two days.
This particular router is setup to handle being mounted in a cabinet and the adjustment knob can be adjusted from the underside with a small wrench (included).
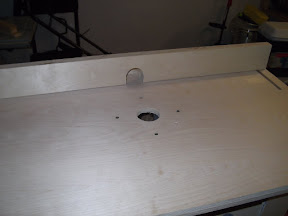
First step was drill four holes in my router table-top. This will allow me to use the included machine screws to attach the router to the top.
 |
| From Router Table |
Note the adjustment hole has not been drilled. My cordness ran out of juice before I could drill that one.
Next up I did the test fit of the base. It will have to be removed because I have to drill that adjustment hole.
 |
| From Router Table |
Here is a top view showing the recessed machine screws. The pencil circle is where the adjustment hole will go.
 |
| From Router Table |
After my drill's batteries charged, I could drill that final hole and permanent mount the router base.
 |
| From Router Table |
This is how I will make fine adjustments from the table top.
 |
| From Router Table |
Here is the router in the base with a straight cutting bit installed.
 |
| From Router Table |
And here is my first test pass. That is just a scrap piece of pine I had in the garage, but I am pleased with how well it worked.
 |
| From Router Table |
I hope these posts have been helpful and gives some ideas to others looking to build a router table for themselves.